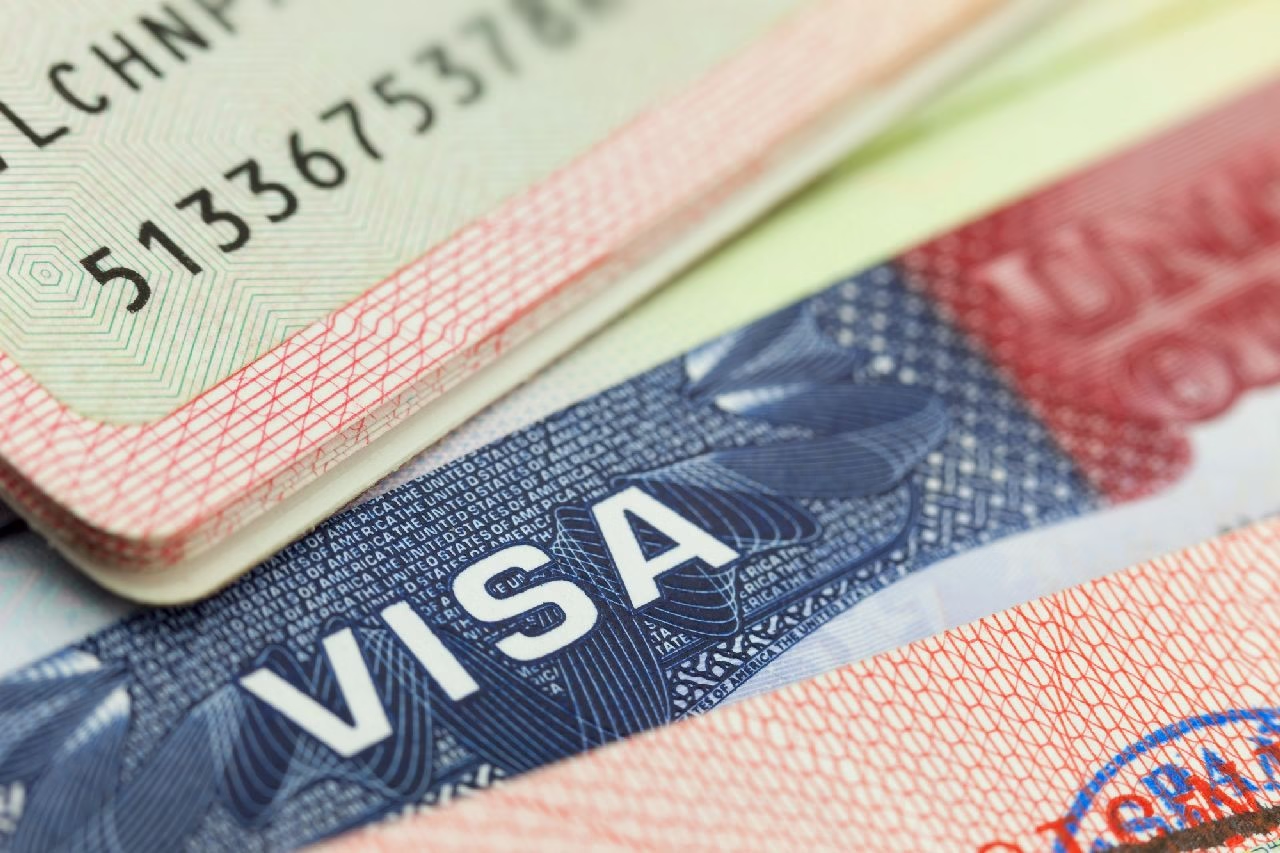
Visa options for Colombia vary depending on your purpose of visit, ranging from tourism to work. Understanding the different types of visas and knowing how to apply can make your travel plans easier and more efficient.
The most common visa types you might consider include:
1. Tourist Visa (V) / 90-day Visa: If you intend to visit Colombia for tourism, this is the right choice. You can enter Colombia for up to 90 days, with the option to extend for another 90 days, totaling 180 days in a calendar year.
2. Business Visa (M): If your purpose is to engage in business activities like attending meetings or conferences, this visa is suitable. You can stay for up to 90 days and request an extension in some cases.
3. Student Visa (M): For those planning to study in Colombia, a student visa is necessary. You must enroll in an accredited institution, and the visa is valid for the duration of your studies.
4. Work Visa (M): If you have a job offer or plan to work in Colombia, you need this visa. Ensure that your employer provides the required documentation for your application.
5. Migrant Visa (M): This category is for individuals who plan to reside in Colombia for more than 90 days. It includes options for family reunification and other longer-term purposes.
6. Resident Visa (R): Intended for those who plan to live in Colombia permanently, usually granted after you have held a migrant visa for a certain period or have specific connections to Colombia.
To apply for a visa, follow these basic steps:
Step 1: Determine your visa type based on your purpose of stay.
Step 2: Gather the required documents. Typical documents include your passport (valid for at least six months), passport-sized photos, proof of accommodation, financial means, and depending on the visa type, additional documentation like a letter of enrollment or an invitation from a Colombian resident or company.
Step 3: Complete the application form on the official Colombian government website or at your nearest Colombian consulate or embassy. Ensure all information is accurate and complete.
Step 4: Pay the applicable visa fees. Fees may vary by visa type and nationality, so check the specific amounts beforehand.
Step 5: Submit your application either online, in person, or by mail as required. Make sure to keep track of your application status.
Step 6: Once your visa is approved, make sure to review its start and end dates and comply with any conditions specified in your visa.
Whether your visit to Colombia is for leisure, work, or study, understanding these visa types and the application process will aid you in a smooth entry into the country.

I’m Luciana, a travel writer from Bogotá, Colombia, and yes, I know exactly what it’s like to be a solo female traveler in a country the world still misunderstands.
I’ve been travelling independently for 10 years, completing 50+ solo trips across Colombia, Mexico, Central America, Argentina, Peru and the United States. I write in both English and Spanish, and I also contribute to allaboutcolombia.com where I cover my home country in depth — from the coffee region to the Caribbean coast to the Andes.
My speciality is Latin America: the neighbourhoods the guidebooks skip, the buses that are actually fine to take, the hostels that feel like home, and the restaurants where locals actually eat. I’ve hitchhiked across Patagonia, navigated Medellín’s metro system at rush hour, and camped solo in the Sierra Nevada de Santa Marta. I know this region the way you only can when it’s yours.
I also cover the US for solo travelers, having spent time road-tripping through the Southwest, the Pacific Coast and the Deep South.